Steps to add a user
Step 1: Click on the logo icon on the top right.
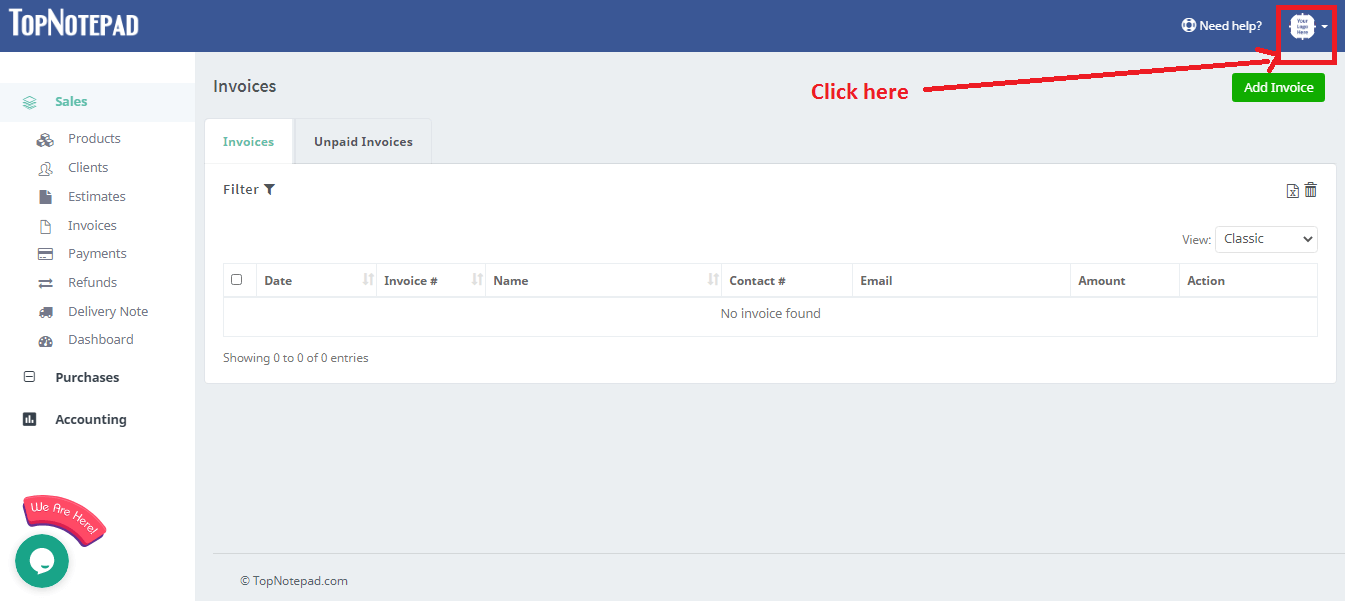
Step 2: From the drop down, please click on the ‘Settings’ option.

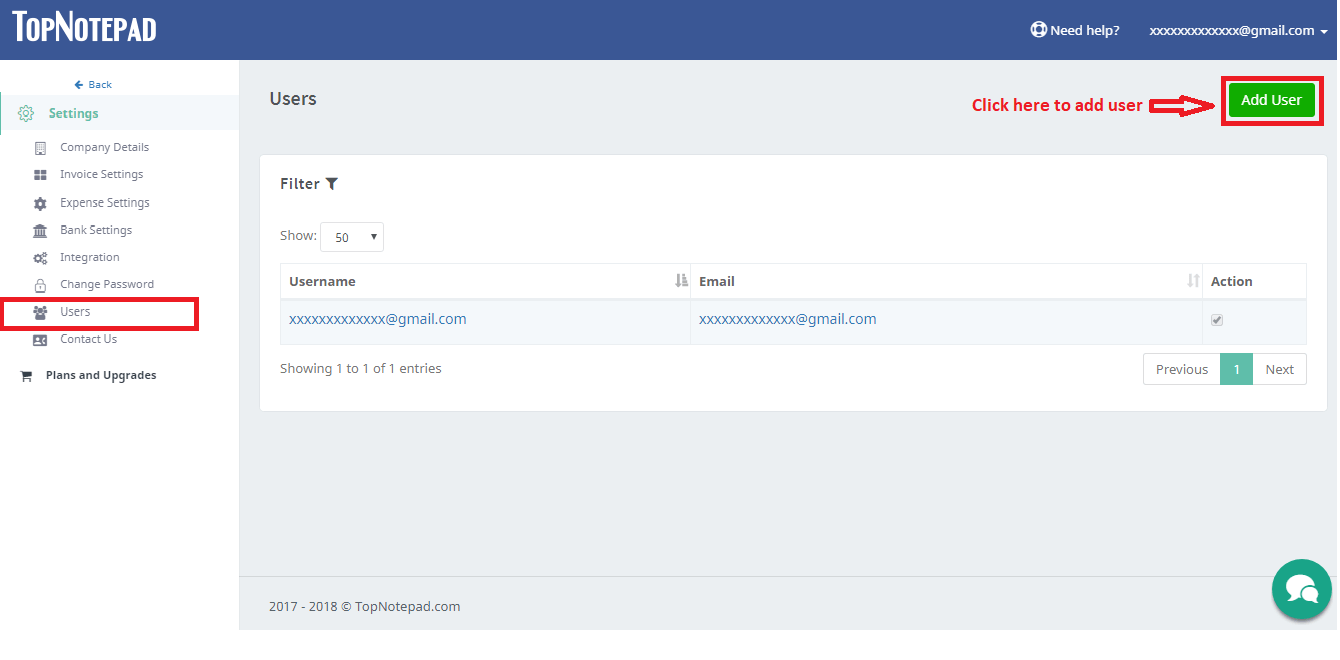
Step 3: Please note, a new user can be added in a multi-user account subscription package only. Click on “Add User” button as shown in the below screenshot.
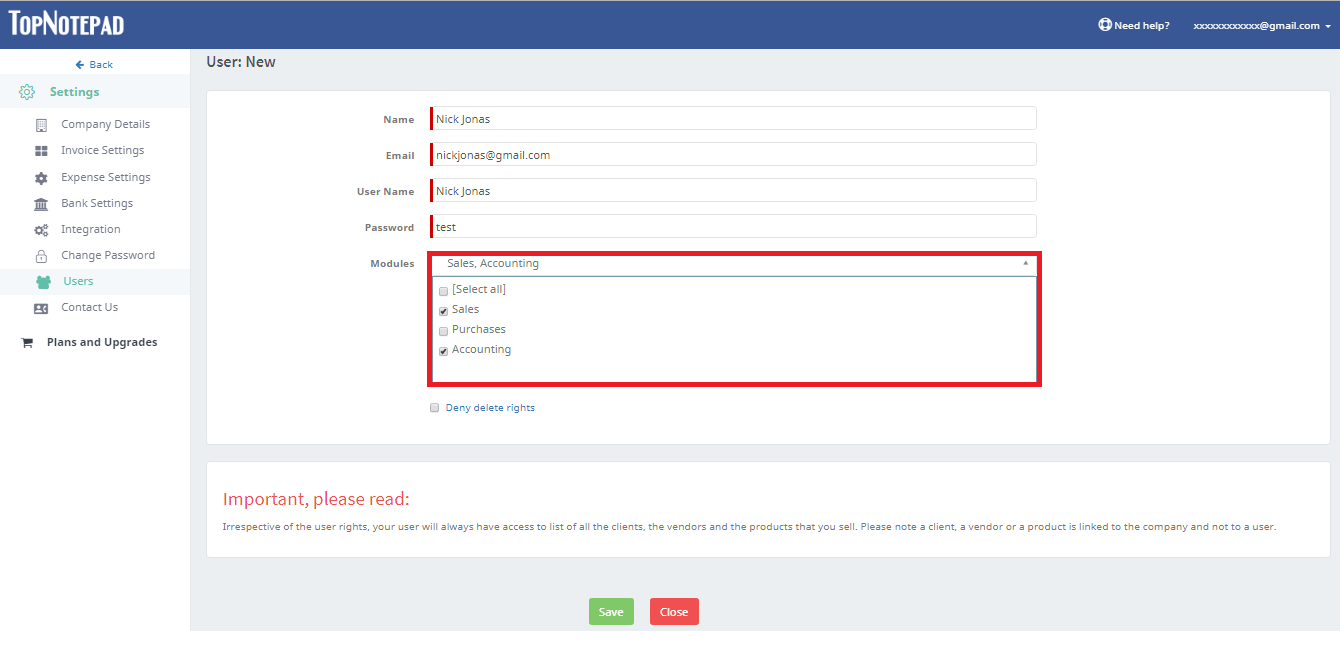
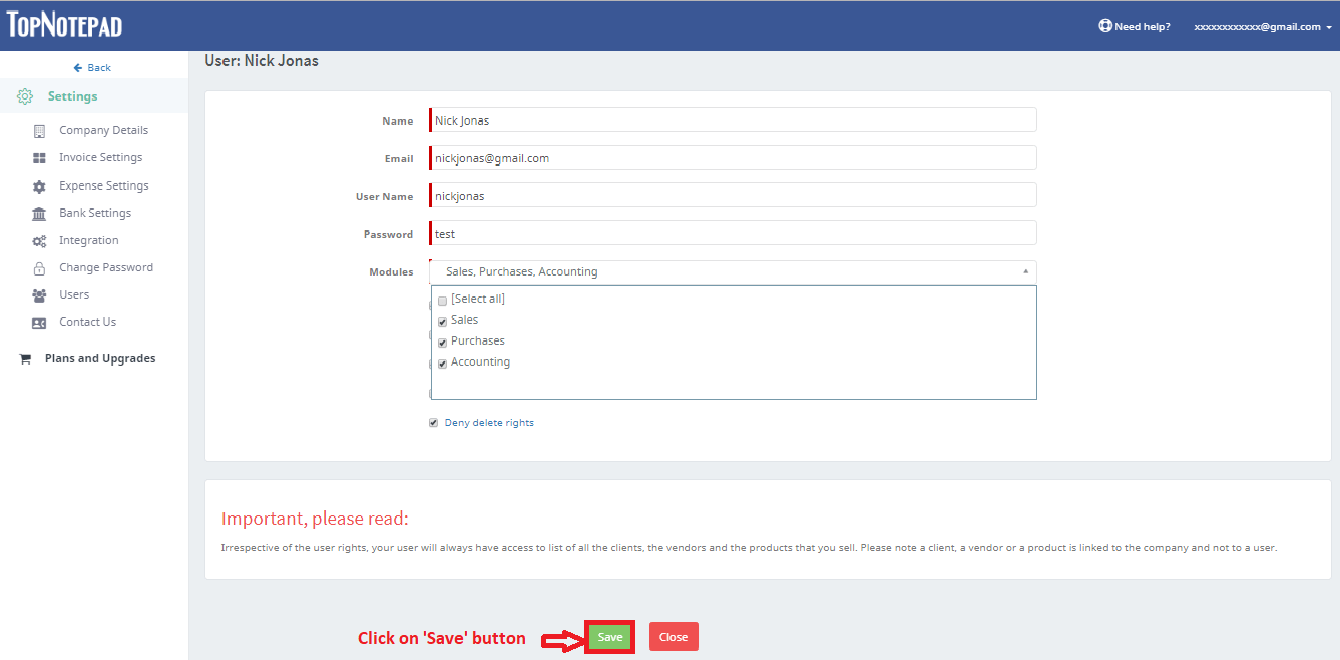
Step 4: Fill all the details like name, email, username, password and select the modules which you wish to assign to the user. User will see only the assigned modules.
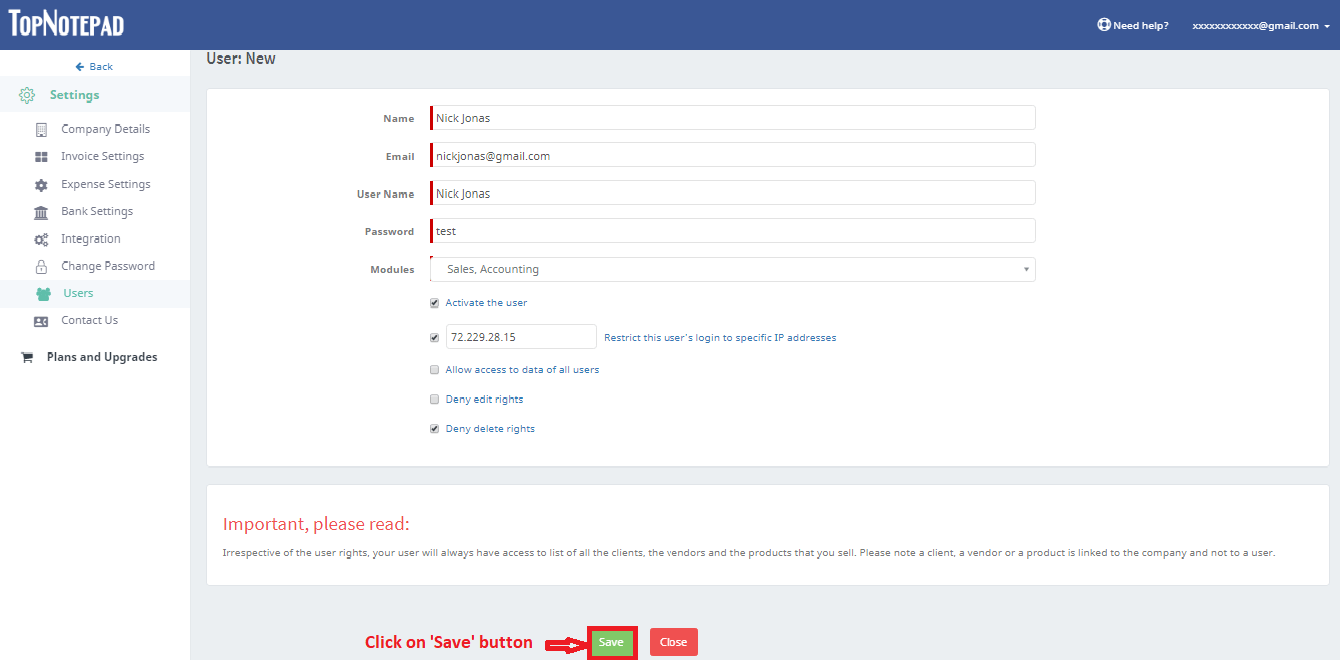
Step 5: To activate the user, check the appropriate check box. In case you wish to restrict the access of a user to a particular ip address, please check the appropriate check box and provide the ip address. There is also an option where you can provide super access to a user. User with such rights can view, edit, delete data entered by other users.

Step 6: Click on save button.
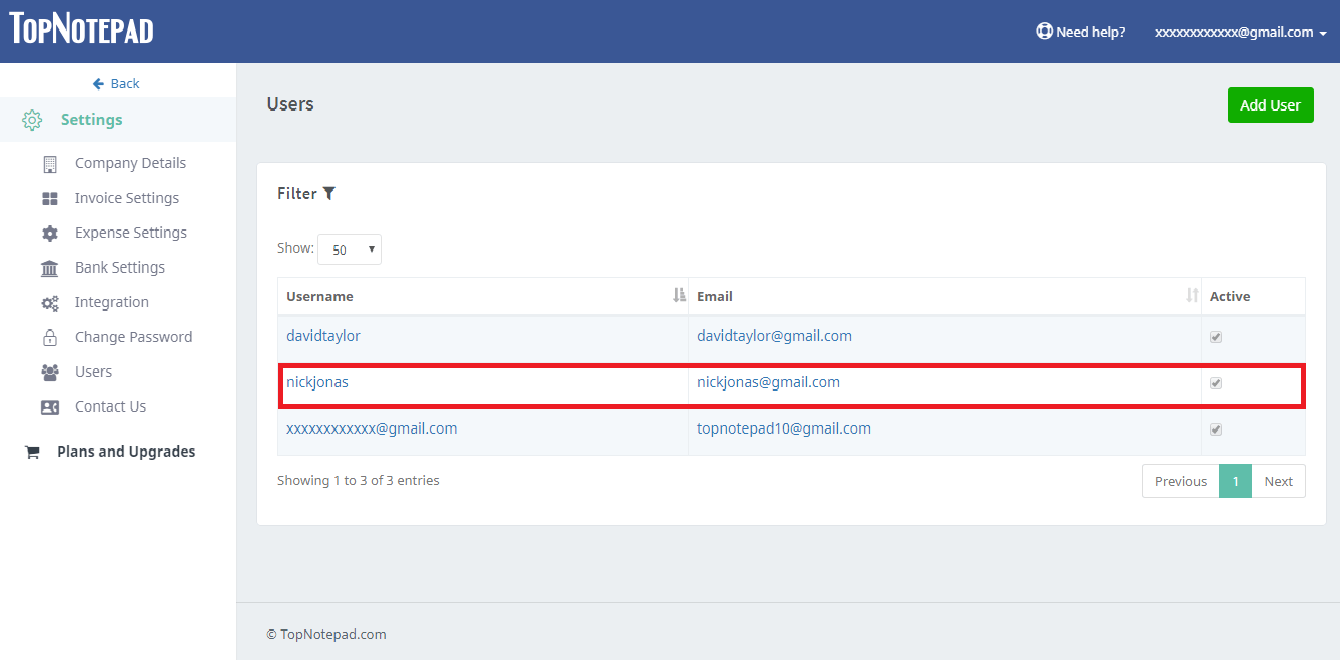
Step 7: The user gets added to the listing.
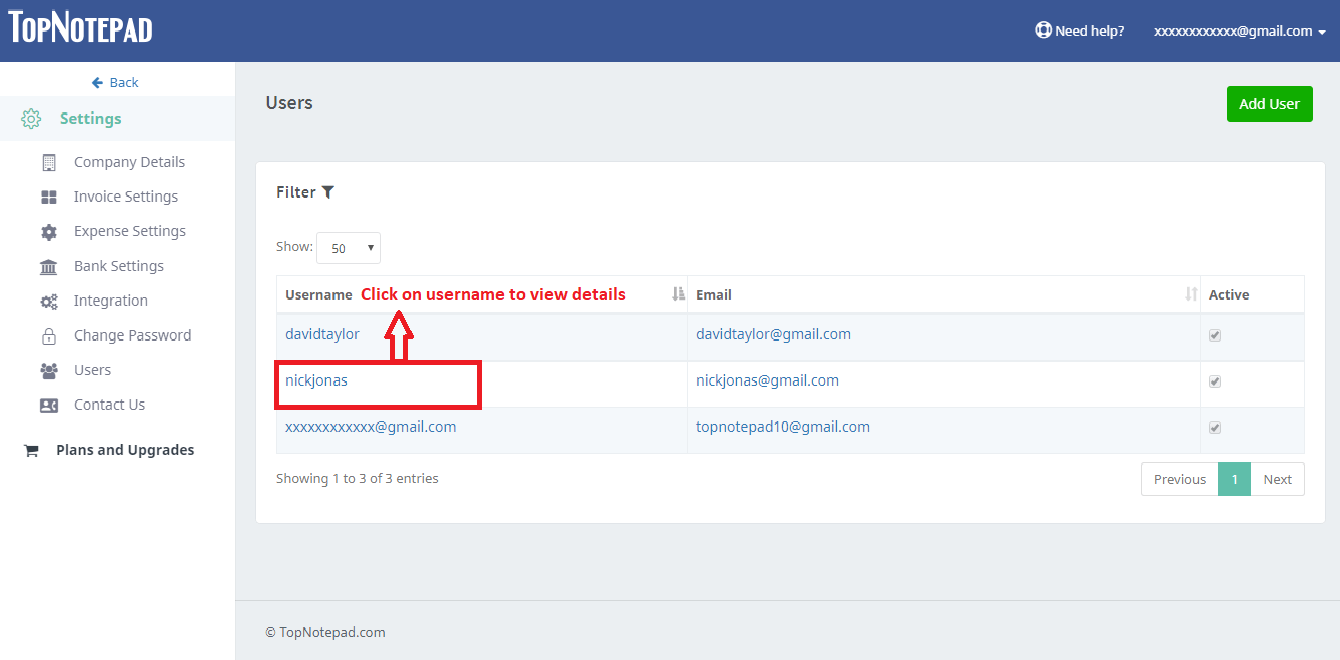
Step 8: To edit or view the details of the user click on the username as shown in the screenshot below.
Step 9: Make necessary changes to the user and click on save button.
Go back to the list of all tutorials