Add Logo
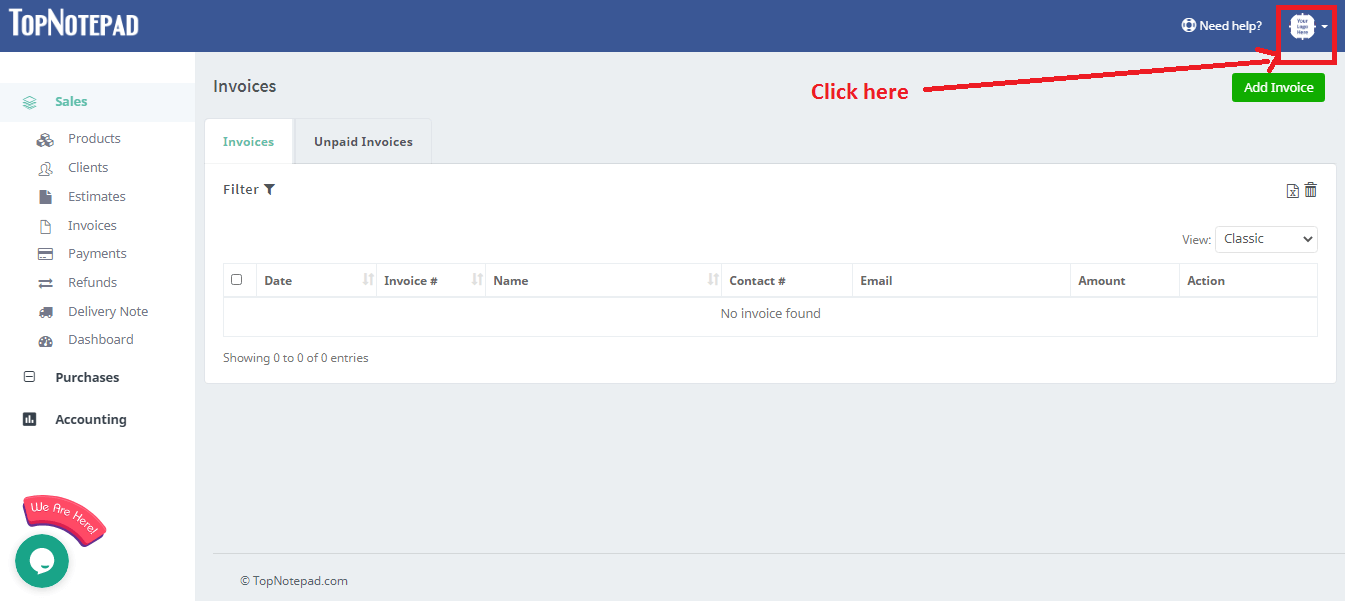
Step 1: Click on your user name on the top right.

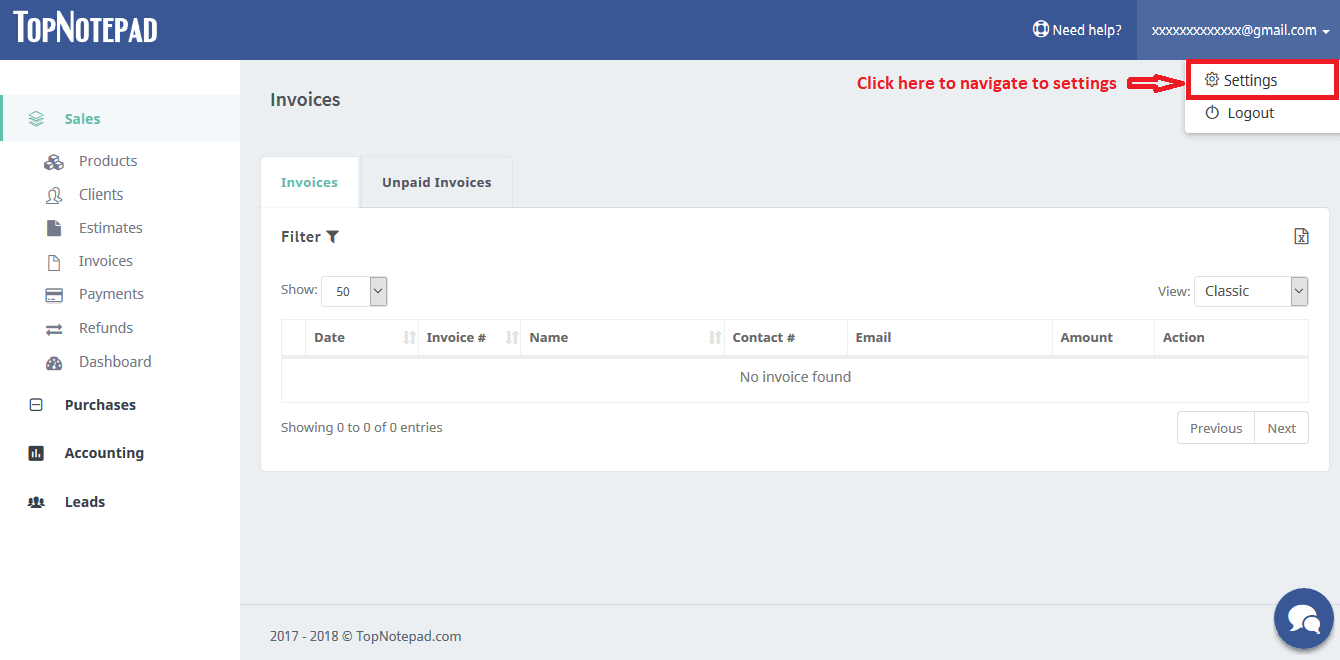
Step 2: From the drop down, please click on the ‘Settings’ option.

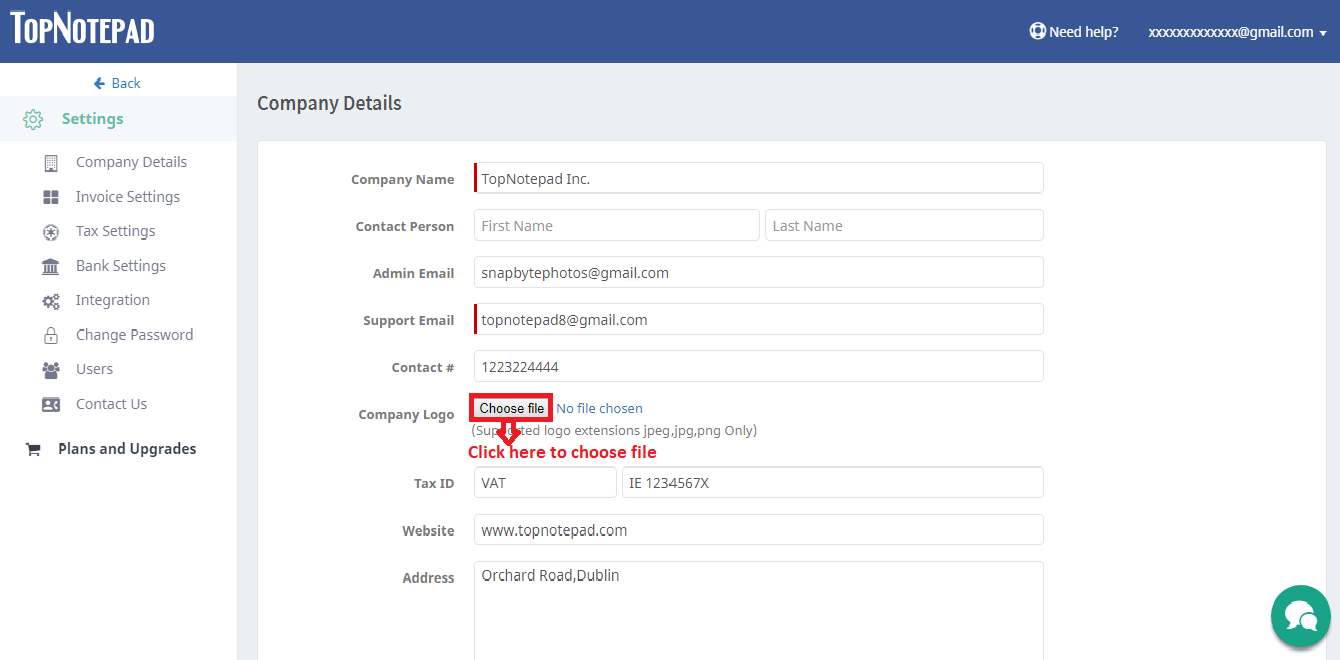
Step 3: Click on 'Choose file' to upload logo.
Step 4: Choose file from your local machine and upload it.
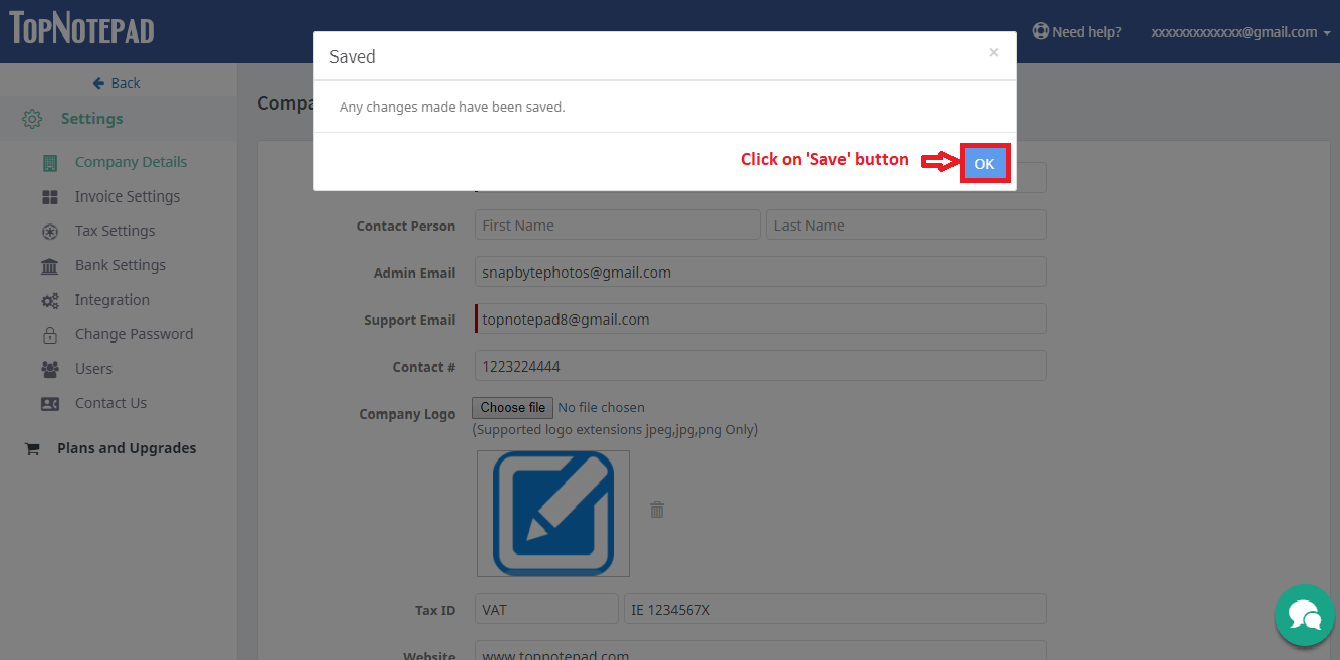
Step 5: Scrolldown, click on 'Save' button to save the changes.
Step 6: A pop-up displays, click on 'OK' button.
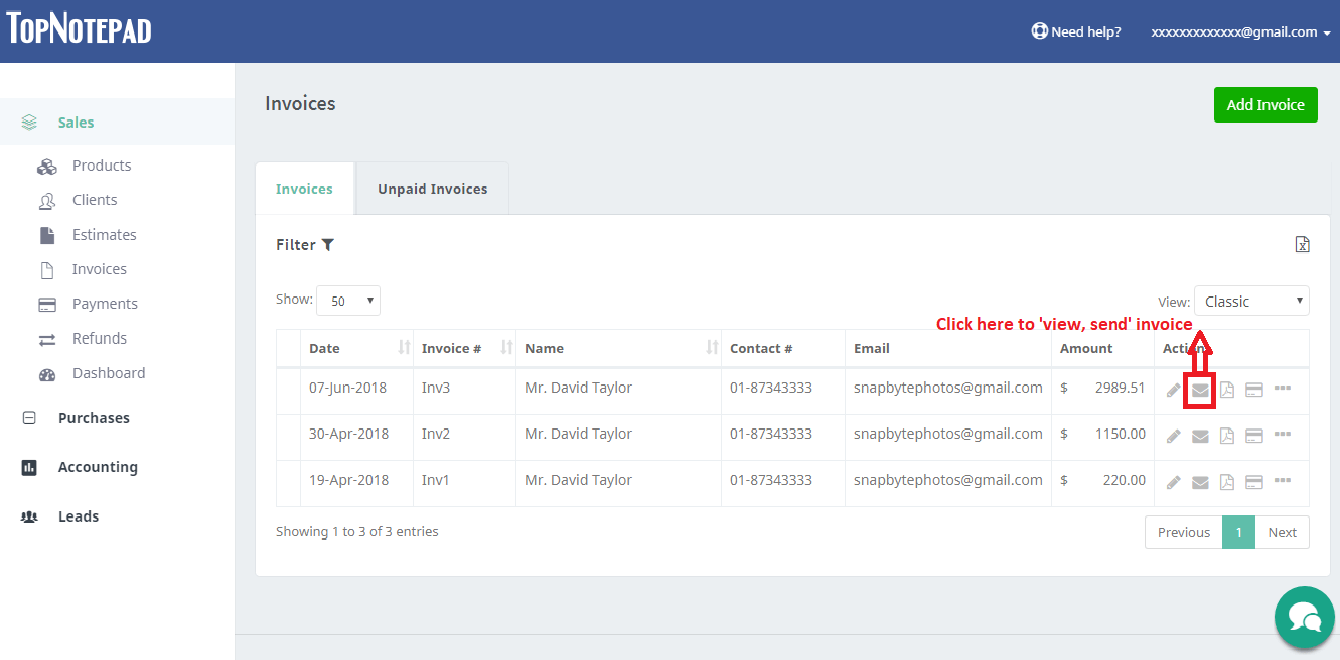
Step 7: You can also add/edit company logo from invoice action icon as shown in the screenshot below.
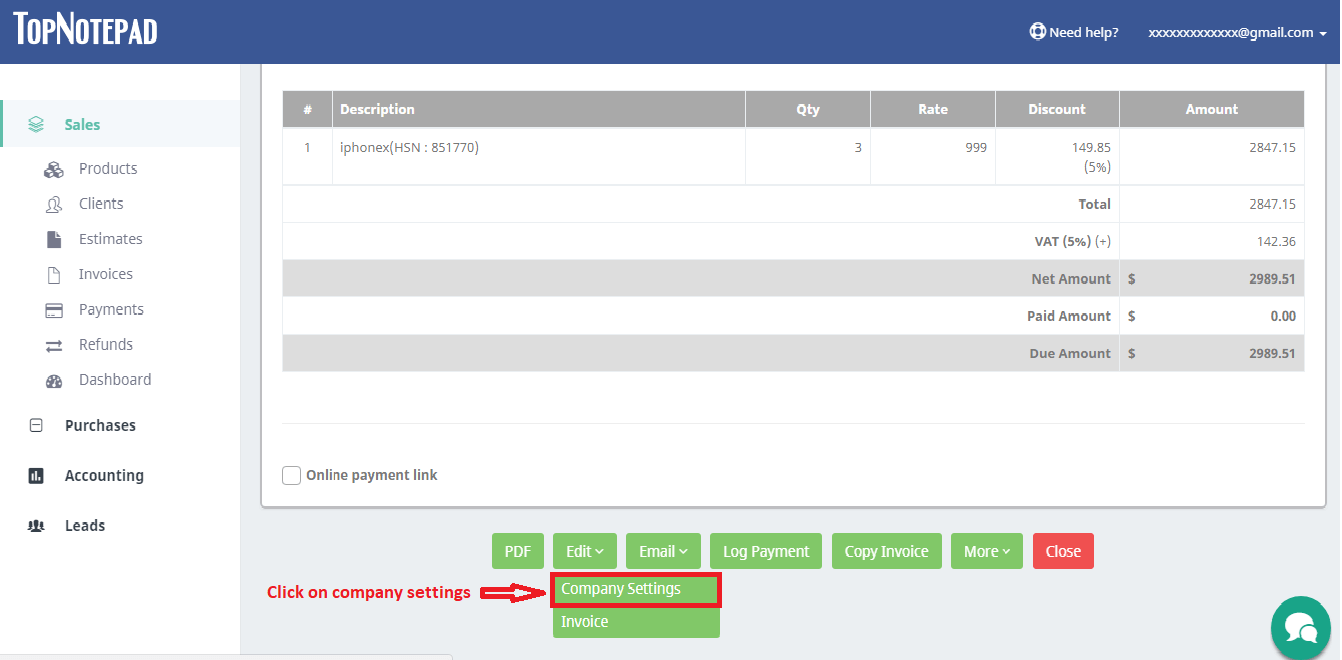
Step 8: Scroll down and mouseover on edit button,click on company settings.

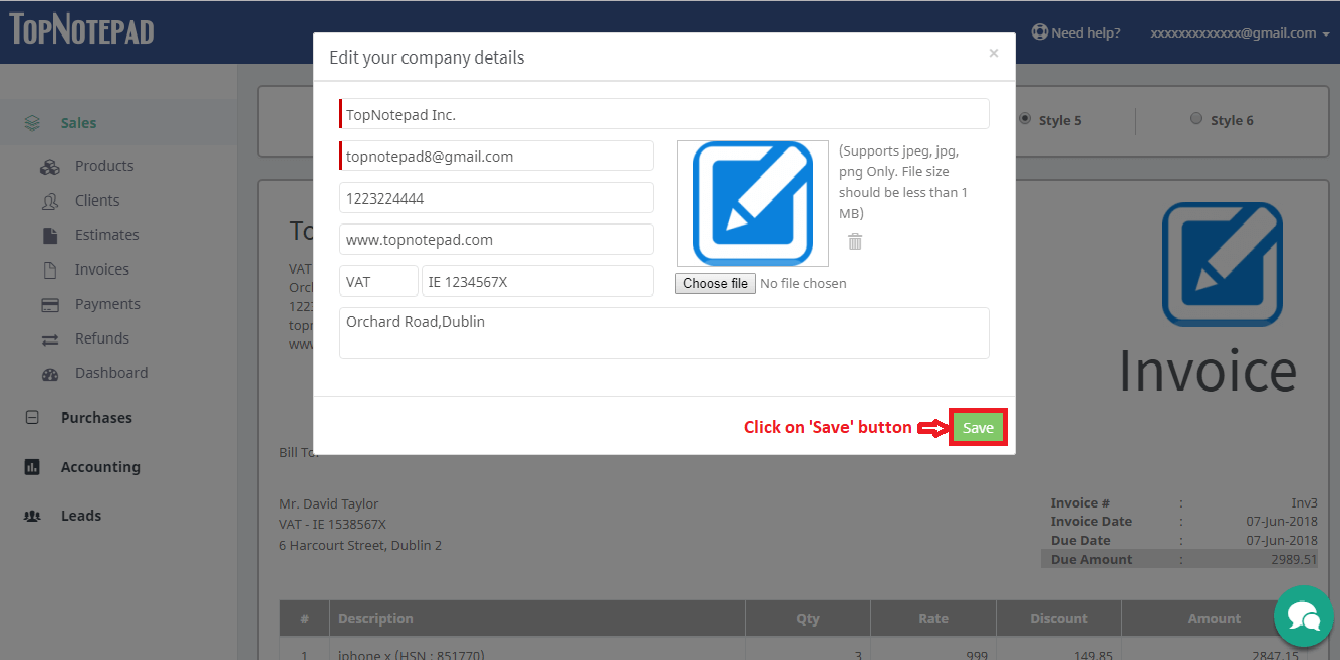
Step 9: Company details form opens up.You can upload logo by following the above steps.Click on 'Save' button.
Go back to the list of all tutorials
Go back to the list of all tutorials