Steps to create new delivery Note
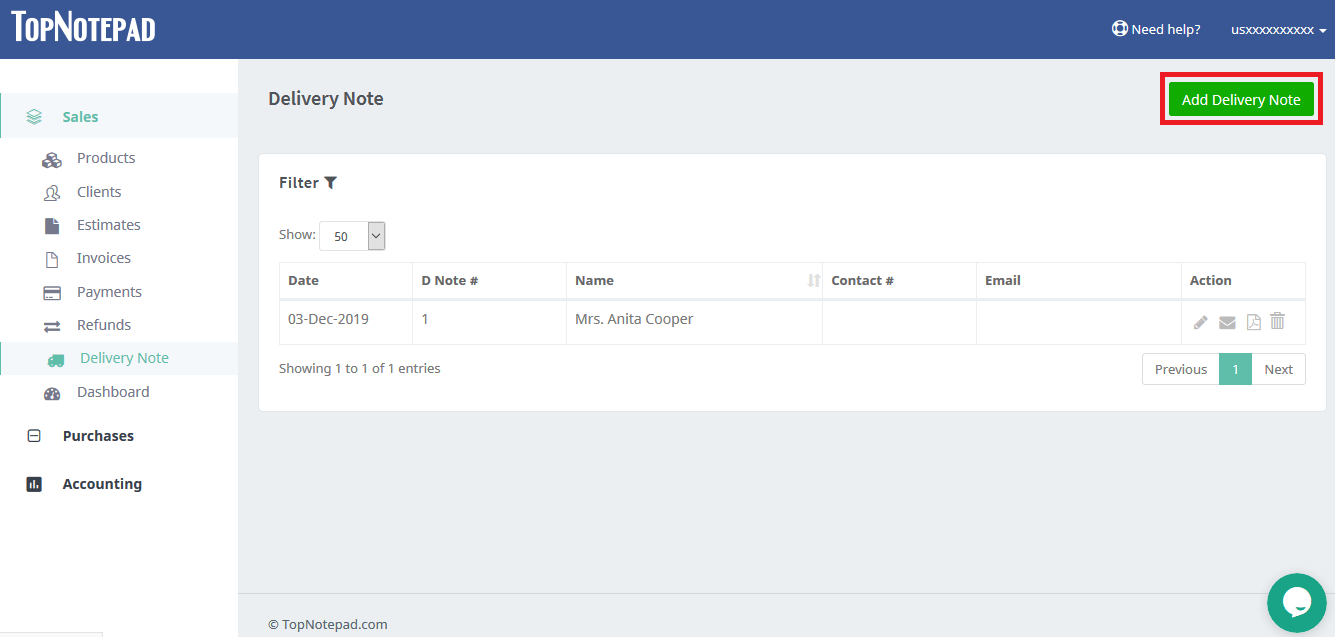
Step 1: Click on the button “add delivery note”

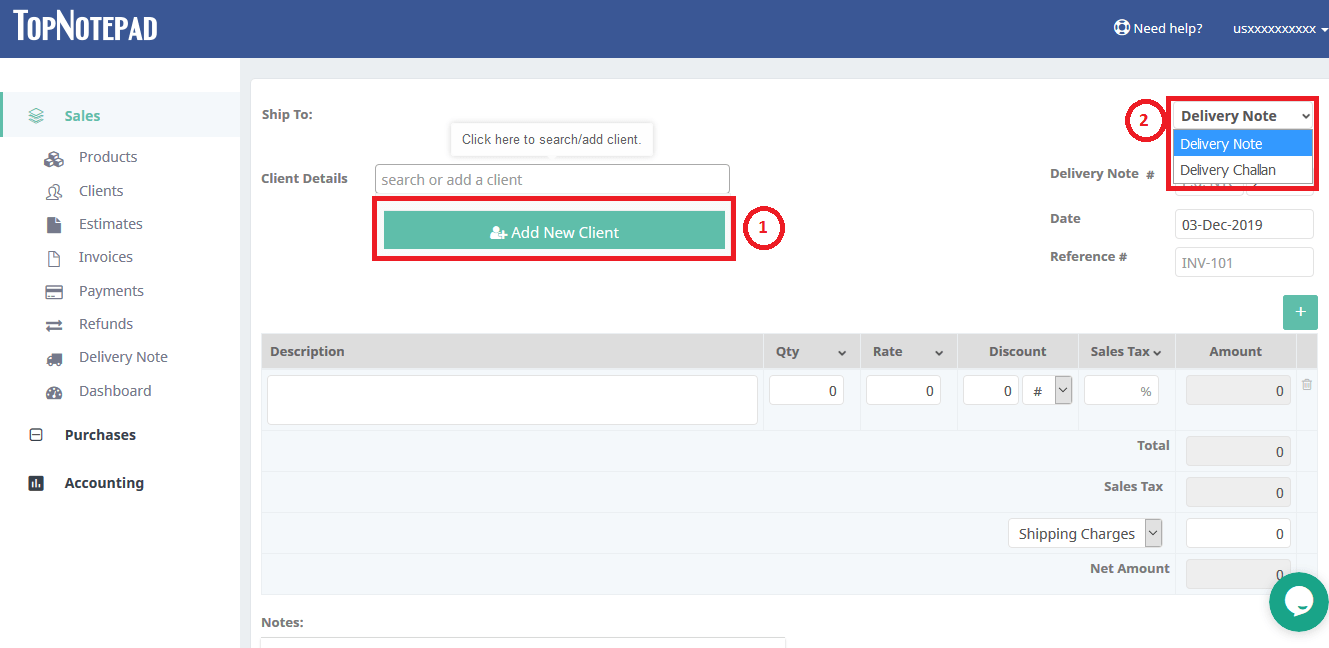
Step 2: Click on add client details to add a new client or select from the existing client list.
You can choose to call the document a “Delivery Note” or a “Delivery Challan”. Please selects the appropriate value from the drop down.

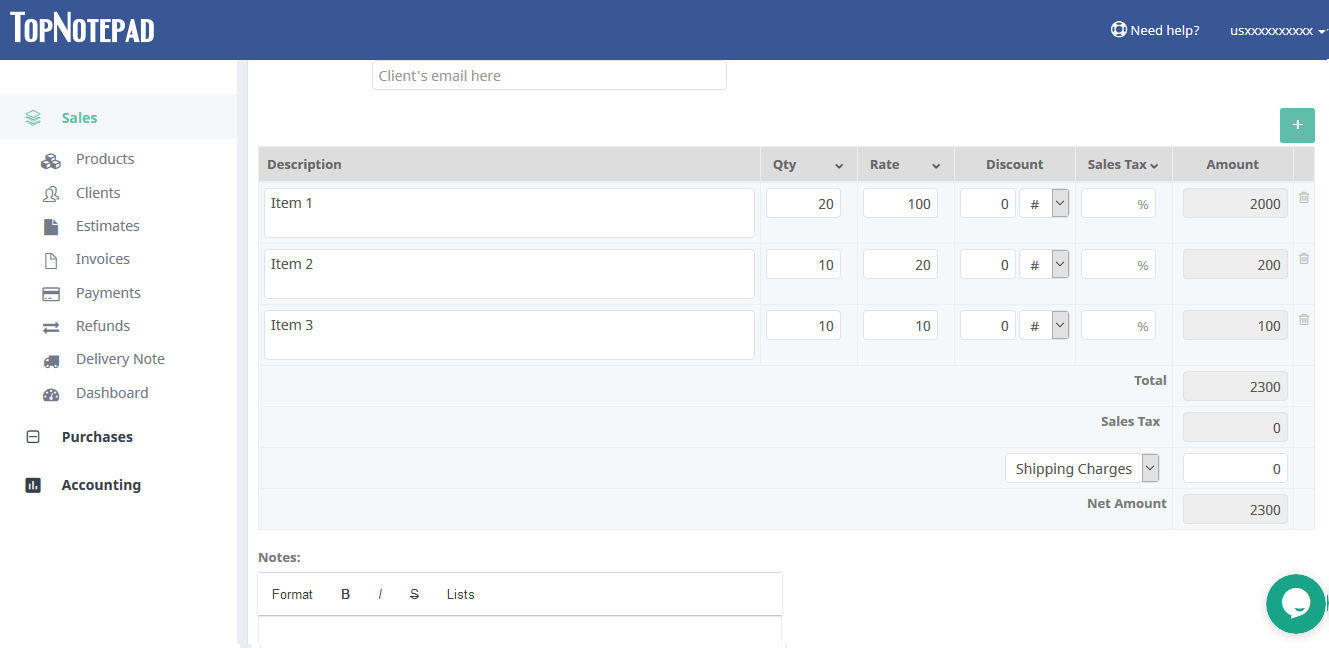
Step 3: Provide details of the items you are shipping.
Please note, you can choose to provide only quantities and ignore rate and other tax details. And even if you provide rate and other details, the software provides you an option to show only quantities in the final delivery note.
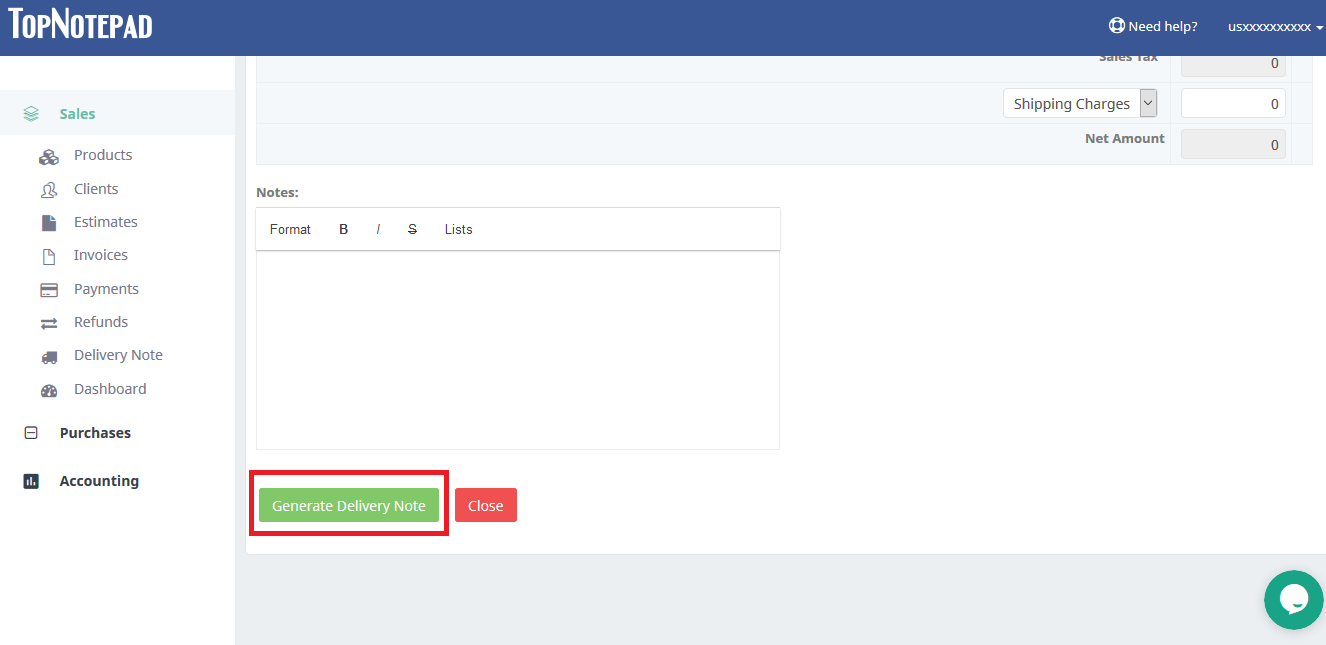
Step 4: Click on the “Generate Delivery Note” button to generate the delivery note.

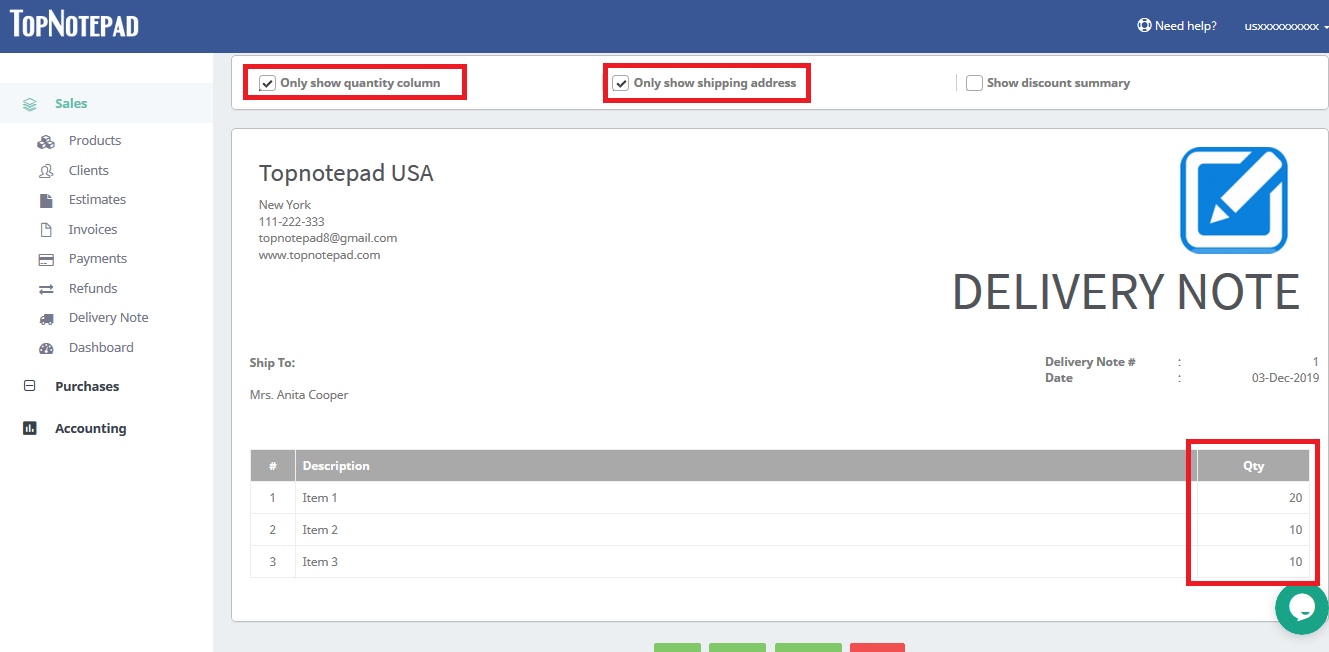
Step 5: Delivery Note is ready. Here you have a couple of option and you can play around. You can choose to show only quantities in the delivery note. You can also choose to show only the shipping address and ignore the billing address.

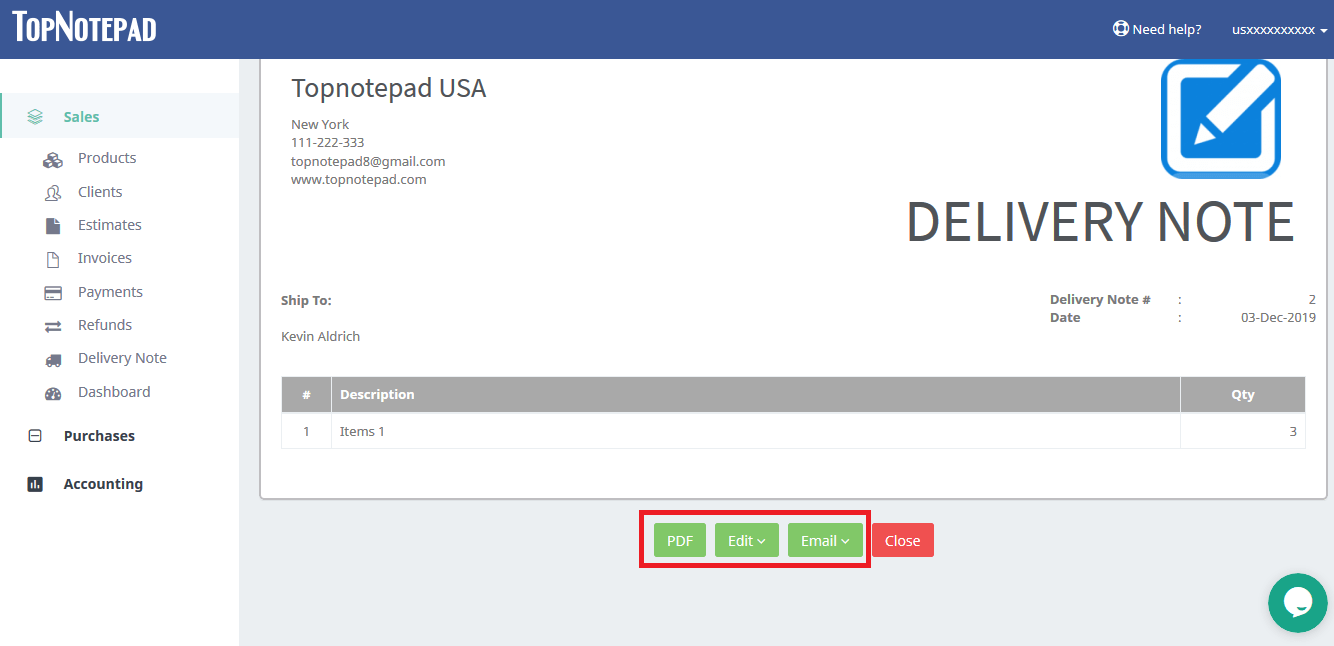
Step 6: You can now print the delivery note by clicking on the PDF option or email it directly from the software.

Go back to the list of all tutorials
You can choose to call the document a “Delivery Note” or a “Delivery Challan”. Please selects the appropriate value from the drop down.
Please note, you can choose to provide only quantities and ignore rate and other tax details. And even if you provide rate and other details, the software provides you an option to show only quantities in the final delivery note.
Step 4: Click on the “Generate Delivery Note” button to generate the delivery note.
Step 5: Delivery Note is ready. Here you have a couple of option and you can play around. You can choose to show only quantities in the delivery note. You can also choose to show only the shipping address and ignore the billing address.
Step 6: You can now print the delivery note by clicking on the PDF option or email it directly from the software.
Go back to the list of all tutorials